
nginx安装配置以及使用
安装nginx
源安装工具安装nginx
linux各大发行版都可以通过源安装工具直接安装nginx,这里以APT源为例.
1
$ sudo apt install nginx
通过发行版的软件管理包直接安装需要检查是否安装了ssl模块(只使用http可忽略这一步骤)
1
2
3
4
5
$ nginx -V
nginx version: nginx/1.14.0 (Ubuntu)
built with OpenSSL 1.1.1  11 Sep 2018
TLS SNI support enabled
configure arguments: --with-cc-opt='-g -O2 -fdebug-prefix-map=/build/nginx-GkiujU/nginx-1.14.0=. -fstack-protector-strong -Wformat -Werror=format-security -fPIC -Wdate-time -D_FORTIFY_SOURCE=2' --with-ld-opt='-Wl,-Bsymbolic-functions -Wl,-z,relro -Wl,-z,now -fPIC' --prefix=/usr/share/nginx --conf-path=/etc/nginx/nginx.conf --http-log-path=/var/log/nginx/access.log --error-log-path=/var/log/nginx/error.log --lock-path=/var/lock/nginx.lock --pid-path=/run/nginx.pid --modules-path=/usr/lib/nginx/modules --http-client-body-temp-path=/var/lib/nginx/body --http-fastcgi-temp-path=/var/lib/nginx/fastcgi --http-proxy-temp-path=/var/lib/nginx/proxy --http-scgi-temp-path=/var/lib/nginx/scgi --http-uwsgi-temp-path=/var/lib/nginx/uwsgi --with-debug --with-pcre-jit --with-http_ssl_module --with-http_stub_status_module --with-http_realip_module --with-http_auth_request_module --with-http_v2_module --with-http_dav_module --with-http_slice_module --with-threads --with-http_addition_module --with-http_geoip_module=dynamic --with-http_gunzip_module --with-http_gzip_static_module --with-http_image_filter_module=dynamic --with-http_sub_module --with-http_xslt_module=dynamic --with-stream=dynamic --with-stream_ssl_module --with-mail=dynamic --with-mail_ssl_module
可以看到 –with-http_ssl_module.
源码安装
从源码安装ngix,需要先解决以来问题,再从官网下载代码编译
下载源码
进入 nginx官网 , 从右边栏目中找到Download, 点击进去下载Mainline版本或者Stable版本.
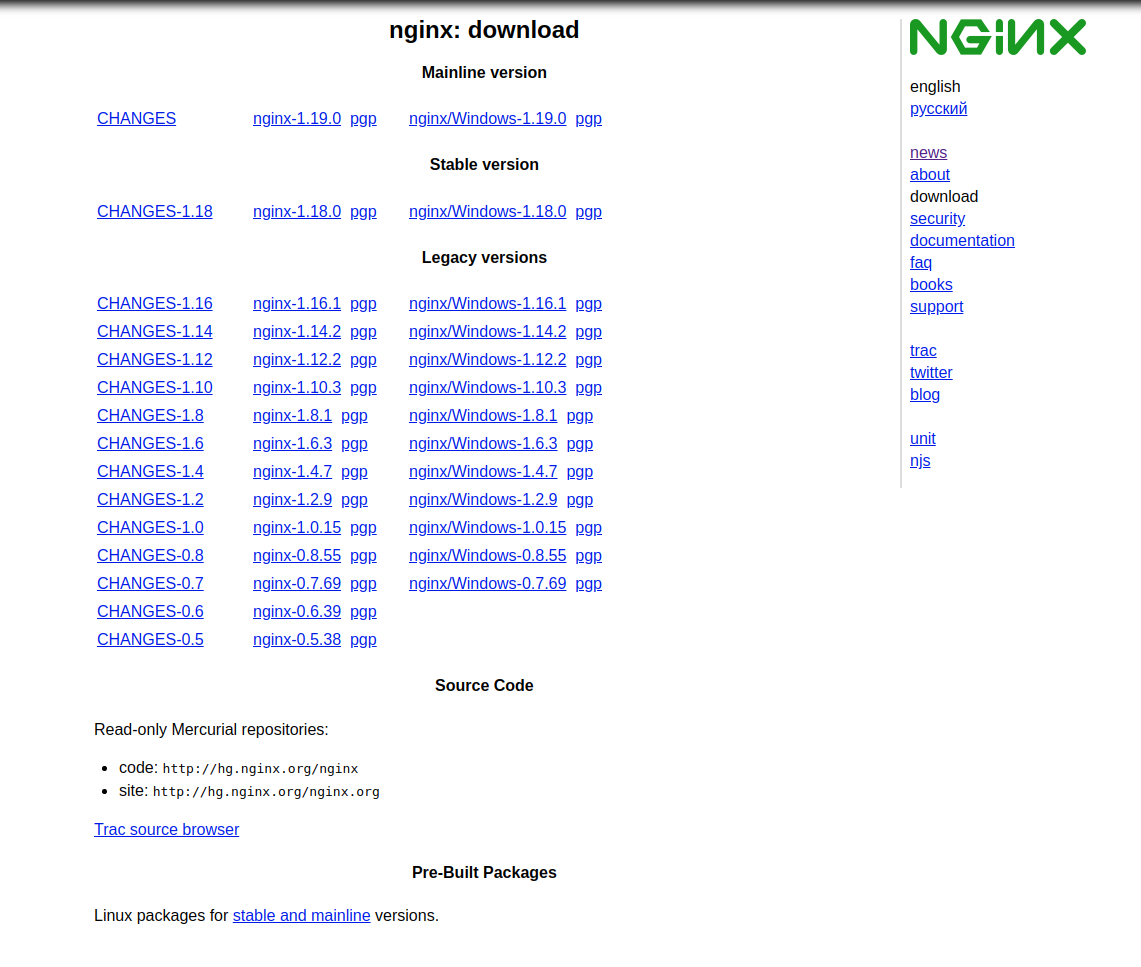
推荐使用stable版本,如果你对nginx足够熟悉或者想尝试新特性,可以安装mainline版本
1
2
3
$ cd ${workspace}
$ wget http://nginx.org/download/nginx-x.xx.x.tar.gz
$ tar zxvf nginx-x.xx.x.tar.gz
安装需要的依赖
需要的依赖都是非常基础的linux包,基本都可以通过发行版的源安装工具直接安装,以APT源为例.
1
2
$ sudo apt update
$ sudo apt install build-essential libtool libpcre3 libpcre3-dev zlib1g-dev openssl
配置环境并编译
1
2
3
4
5
6
7
8
9
10
11
$ cd ${workspace}/nginx-x.xx.x/
$ ./configure \
        --prefix=/usr \
        --sbin-path=/usr/sbin/nginx \
        --conf-path=/etc/nginx/nginx.conf \
        --error-log-path=/var/log/nginx/error.log \
        --http-log-path=/var/log/nginx/access.log \
        --pid-path=/var/run/nginx/nginx.pid \
        --lock-path=/var/lock/nginx.lock \
        --with-http_stub_status_module \
        --with-http_ssl_module
如果你需要编译额外的模块,就加在这个配置后面
下一步就是编译和安装
1
2
$ make
$ sudo make install
执行完make install之后就安装完成了.
配置nginx
配置文件写权限
配置文件在 /etc/nginx/nginx.conf , 修改配置文件时需要切换到root用户, 这个文件所有组是root.root
1
2
3

$ su
root# chmod +w /etc/nginx/nginx.conf
修改完成以后记得回复配置文件权限
1
root# chmod -w /etc/nginx/nginx.conf
配置文件修改
所有的修改都是在配置文件的http类里
1
2
http {
}
修改nginx用户
1
#user  nobody;  --> user root
注释下级目录
注释掉不需要用的下级配置文件目录
1
2
include /etc/nginx/conf.d/*.conf; --> # include /etc/nginx/conf.d/*.conf;
include /etc/nginx/sites-enabled/*; --> # include /etc/nginx/sites-enabled/*;
http的server
如果只使用http,不使用https:
1
2
3
4
5
6
7
8
9
10
server {
                listen 80;
                server_name xxxx.com www.xxxx.com;
#               return 301 https://www.xxxx.com$request_uri;
                location / {
                        root /path/to/html;
                        index index.html index.htm;
                }
}
https的server
如果使用https,除了配置server,还要配置ssl证书:
1
2
3
4
5
6
7
8
9
10
11
12
13
14
15
16
17
18
19
20
21
22
23
server {
                listen 80;
                server_nane xxxx.com www.xxxx.com;
               return 301 https://www.xxxx.com$request_uri;
#                location / {
#                        root /home/yan/website/blog/bare/_site/;
#                        index index.html index.htm;
#                }
}
server {
               listen 443 ssl;
               server_name xxxx.com www.xxxx.com;
               ssl on;
               ssl_certificate /path/to/fullchain.pem;
               ssl_certificate_key /path/to/privkey.pem;
               ssl_dhparam /etc/ssl/certs/dhparams.pem;
               ssl_protocols SSLv3 TLSv1 TLSv1.1 TLSv1.2;
               ssl_ciphers HIGH:!aNULL:!MD5;
               location / {
                        root /path/to/html;
                        index index.html index.htm;
                }
}
ssl证书
note : : ssl证书申请,请按照–>ssl申请与配置
设置log文件路径
1
2
access_log /var/log/nginx/access.log;
error_log /var/log/nginx/error.log;
nginx服务
修改完了以后,直接重启系统或者重启nginx服务就会生效
直接在网页输入127.0.0.1 ,如果配置成功就能直接看到你的网页内容了

other
完整的nginx文件位置
完整的nginx配置文件在我的github上 : https://github.com/yan-wyb/source/blob/master/web/nginx/nginx.conf
nginx -t
使用nginx -t 可测试nginx配置文件是否存在语法错误
1
2
3
root# nginx -t
nginx: the configuration file /etc/nginx/nginx.conf syntax is ok
nginx: configuration file /etc/nginx/nginx.conf test is successful
同时nginx -t可以显示出配置文件路径,这个可以在找不到配置文件路径时使用
log文件使用
在nginx工作不正常时可以通过配置文件里的配置log文件路径
1
2
access_log /var/log/nginx/access.log;
error_log /var/log/nginx/error.log;
查看服务启动时的log信息和error信息
issues
如果有疑惑或错误,请提issues –> Issues