
这篇主要记录如何使用GIthub Actions部署jekyll
Repositories设置
- 首先要在
github上把项目设置成public,travis只对开源项目免费,然后将项目clone到本地
note : 这里一定要使用ssh的方式clone下来,不能使用https.
1
2
$ cd ${workspace}
$ git clone git@github.com:${user}/{your-blog}.git
- 之后需要新建
gh-pages分支,同时推送到远端
1
2
$ git branch gh-pages
$ git push origin pg-pages
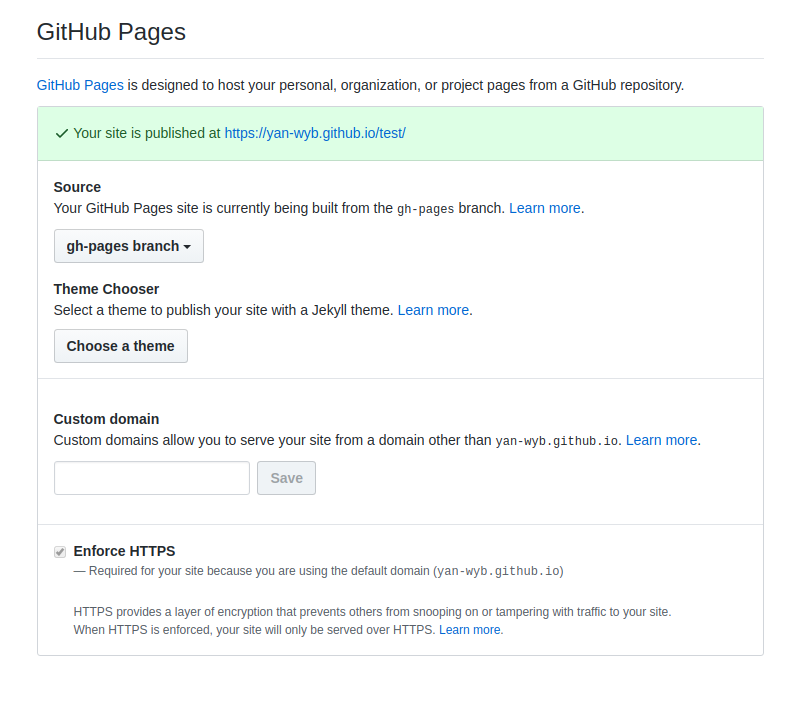
- 打开
github pages
打开仓库的setting

在列表中找到github pages,设置成gh-pages分支
Token设置
- 打开
github的setting --> Development Settings.
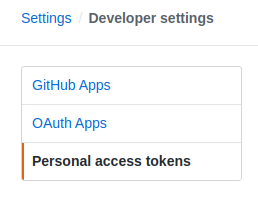
- 点击左边最底下的
Personal access token,在右上角就会看到Generate new token.

- 为即将生成的新
token设置note,相当于标识,或者别名

- 设置
token的权限
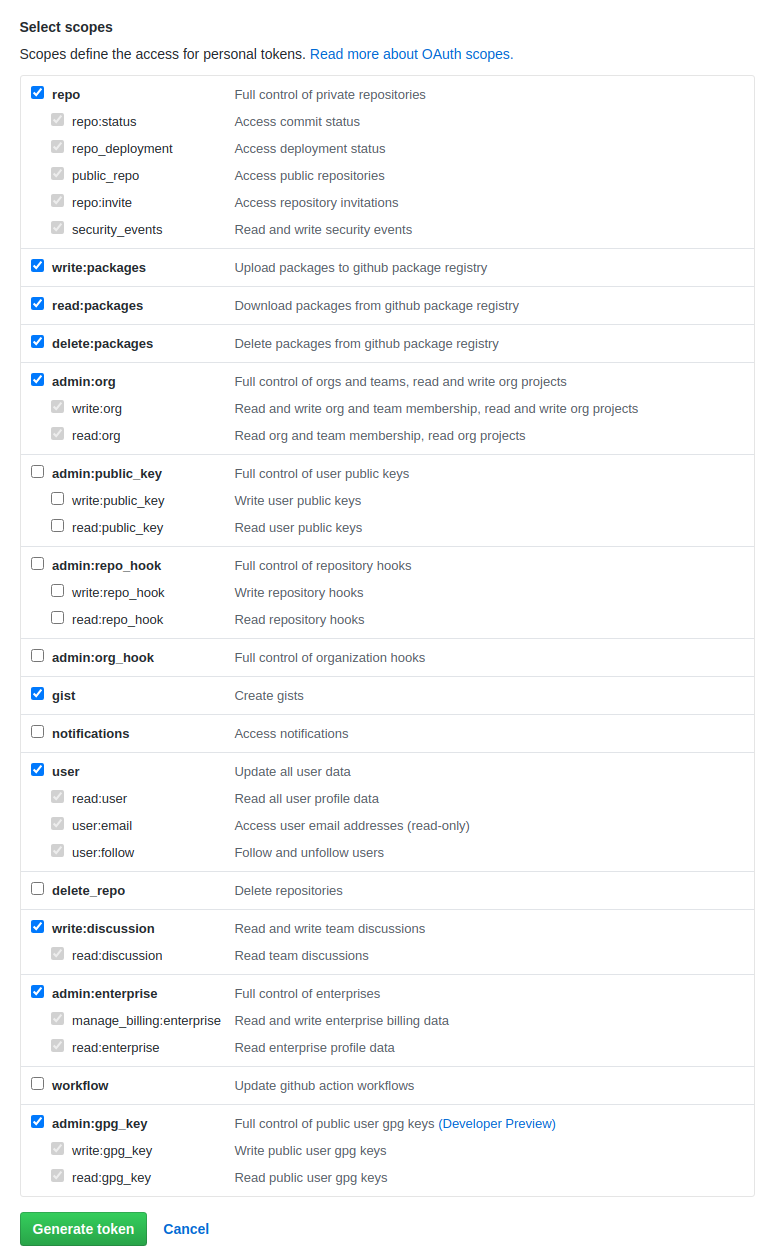
- 记下
token的值,这个值只有第一次生成时会显示,之后就不会再显示了,因此生成时一定要复制下来

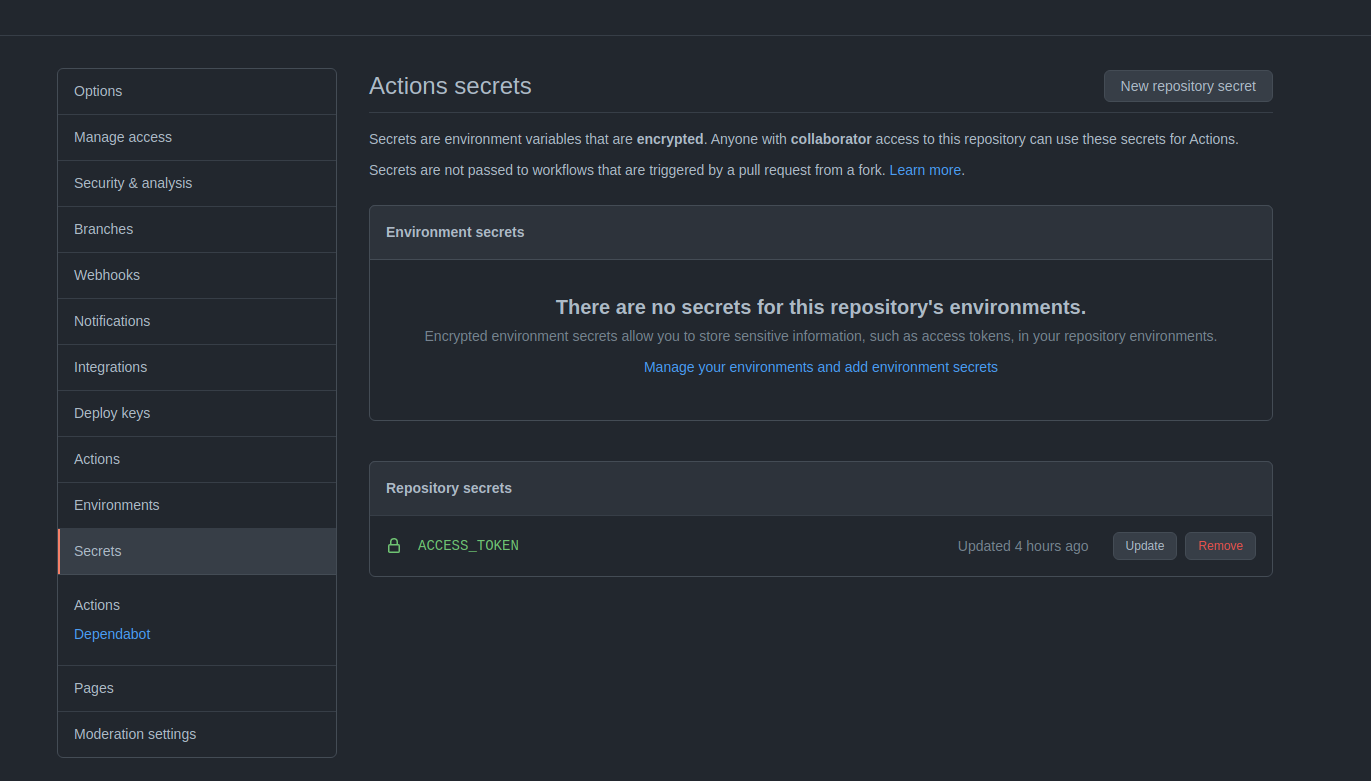
- 将token添加到
secrets
部署脚本设置
只要在仓库目录下新建.github/workflows文件夹,推送到github以后就会自动触发部署。
- 新建
.github/workflows文件夹
1
$ mkdir -p .github/workflows
- 新建脚本
1
$ vim .github/workflows/avalon.yaml
内容如下,
1
2
3
4
5
6
7
8
9
10
11
12
13
14
15
16
17
18
19
20
21
22
23
24
25
26
27
28
29
30
31
32
33
34
35
36
37
38
39
40
41
42
43
44
45
46
47
48
49

name: Publish to my blog

on: [push]

jobs:
  build:

    runs-on: ubuntu-latest

    steps:
    - uses: actions/checkout@v2
      with:
        persist-credentials: false # otherwise, the token used is the GITHUB_TOKEN, instead of your personal token

    - name: Setup Ruby
      uses: ruby/setup-ruby@v1
    - name: Ruby gem cache
      uses: actions/cache@v1
      with:
        path: vendor/bundle
        key: ${{ runner.os }}-gems-${{ hashFiles('**/Gemfile.lock') }}
        restore-keys: |
          ${{ runner.os }}-gems-
    - name: Install gems
      run: |
        bundle config path vendor/bundle
        bundle install --jobs 4 --retry 3

    - name: Build Jekyll site
      run: JEKYLL_ENV=production bundle exec jekyll build

    - name: Commit files
      run: |
        cd ./_site
        git init
        git config --local user.name "Your name"
        git config --local user.email "Your email"
        git add .
        git commit -m "jekyll build at $(date)"
    - name: Push changes
      uses: ad-m/github-push-action@master
      with:
        directory: ./_site
        repository: {{ github user }}/{{ repository name }}
        branch: gh-pages
        github_token: ${{ secrets.ACCESS_TOKEN }}
        force: true
其中,
1
2
3
1. `git config`   要配置成你的git用户
2. `repository`   要配置成你的源码仓库
3. `ACCESS_TOKEN` 是Token设置中你生成的token
- 新建ruby版本文件
1
echo 2.5.1 > .ruby-version
- Push并自动部署
代码push到github以后就会触发自动部署,

在Actions就可以看到你的自动部署脚本是否成功运行。
域名重定向
- 新建CNAME文件并添加自己的域名
1
echo example.com > CNAME
- 设置DNS解析
这里以阿里云的域名为例,

如上图设置两条dns解析,第二条的解析记录填写你的github.io地址。
- 打开https
在github pages处勾选
